- 1-888-55-CRYPTO
- 254 W Broadway Rd. Mesa, AZ 85210
How do I connect an AvalonMiner 741, AvalonMiner 721 and AvalonMiner Controller (including Raspberry Pi 1, 2 and 3)? (technical setup)
This guide is designed for users of the AvalonMiner 741, AvalonMiner 721 and AvalonMiner Controller including Raspberry Pi 1, 2, and 3.
We use the AvalonMiner Controller’s Firmware flashed onto a Raspberry Pi to be used as a controller which allows users to manage through a graphical user interface via the controller, multiple AvalonMiner 741 and 721 devices. One AvalonMiner Controller may manage up to 20 AvalonMiner 721 or 741 devices. The Controller interface makes managing and debugging multiple Avalon units much easier.
This brief tutorial explains how to load the AvalonMiner Controller’s Firemware into the memory card of a Raspberry Pi to complete the initial setup of the controller, and then set the controller configuration to a usable state.
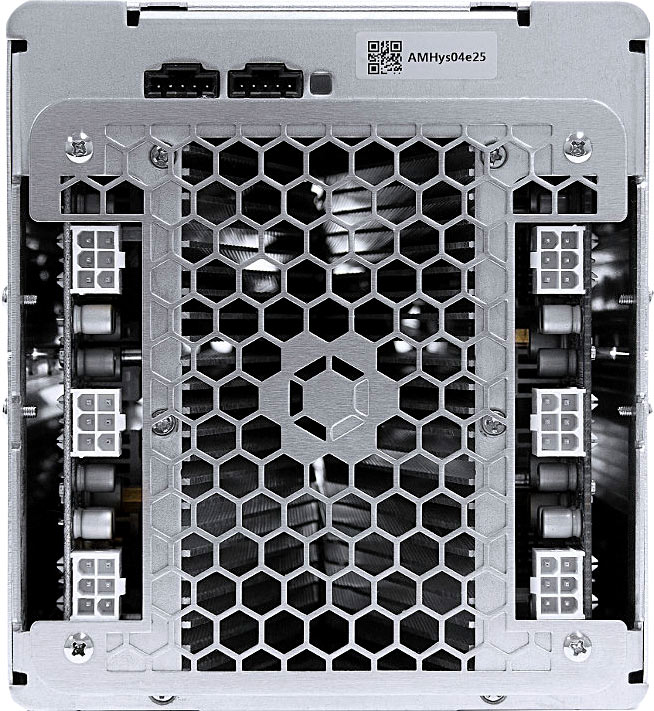
Flash AvalonMiner Controller’s Firmware
Ready to Work
You need the following items to begin.
1. AvalonMiner Controller’s Firmware supports the following types of Raspberry Pi:AvalonMiner Controller
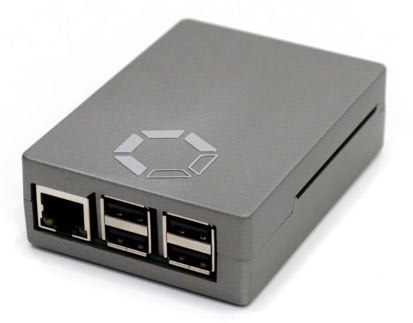
Raspberry Pi 1 Model B
Raspberry Pi 2 Model B
Raspberry Pi 3 Model B
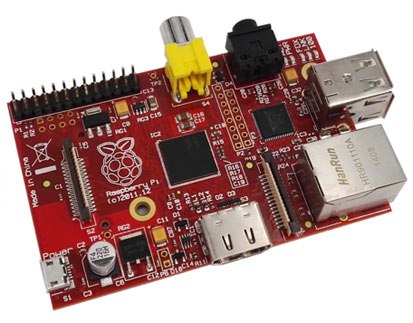
Raspberry Pi 1 Model B (2 USB ports)
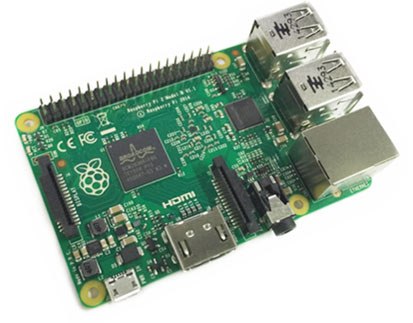
Raspberry Pi 2 Model B (4 USB ports)
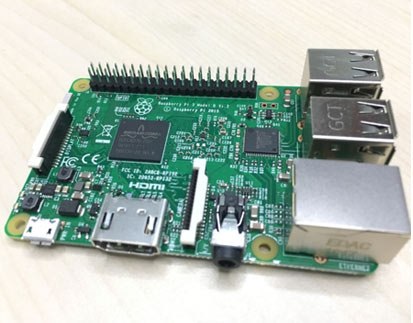
Raspberry Pi 3 Model B (4 USB ports)
2. A minimum capacity of 4GB memory card is required.
There is no requirement for brands, speed rating is recommended for Class 10. (Please be select type of memory card based upon your selected Raspberry Pi model)
- Raspberry Pi 1 Model B using a SD card
- Raspberry Pi 2 Model B using a Micro SD card
- Raspberry Pi 3 Model B using a Micro SD card
- AvalonMiner Controller using a Micro SD card
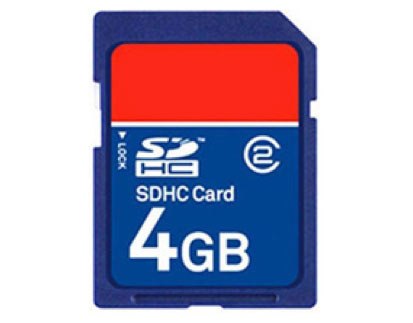
SD Card
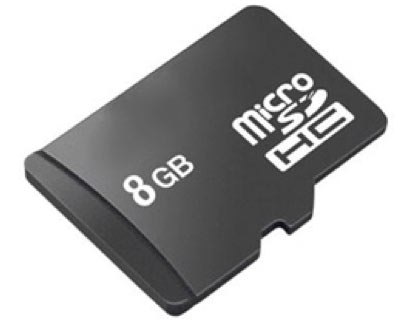
Micro SD
3. We need an SD card reader.
Select the type of reader depending on the type of memory card you choose. If you are using a computer with an SD card or Micro SD card slot, you still might need to prepare an external reader.

The reader supports both SD card and Micro SD card
4. Depending on your Raspberry Pi model, select the firmware version.
- Raspberry Pi 1 Model B Firmware:
- https://canaan.io/downloads/software/avalon7/openwrt/latest/rpi1-modelb/openwrt-brcm2708-bcm2708-rpi-ext4-sdcard.img
- Raspberry Pi 2 Model B Firmware:
- https://canaan.io/downloads/software/avalon7/openwrt/latest/rpi2-modelb/openwrt-brcm2708-bcm2709-rpi-2-ext4-sdcard.img
- Raspberry Pi 3 Model B Firmware:
- https://canaan.io/downloads/software/avalon7/openwrt/latest/rpi3-modelb/openwrt-brcm2708-bcm2710-rpi-3-ext4-sdcard.img
5. Install the burning software on the computer, for example on Windows:
Download link: https://sourceforge.net/projects/win32diskimager/
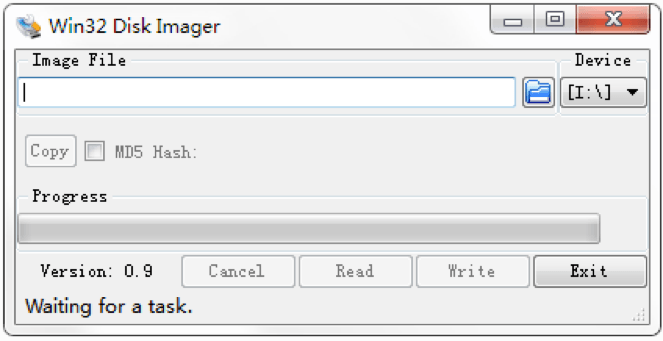
Win32 disk imager
Began to burn
1.Insert the memory card into the reader, or into your internal computer card reader.
2.The card reader connected to the computer
(if you are using a computer that comes with a card reader, please ignore this step)

3.Open Win32 Disk Imager
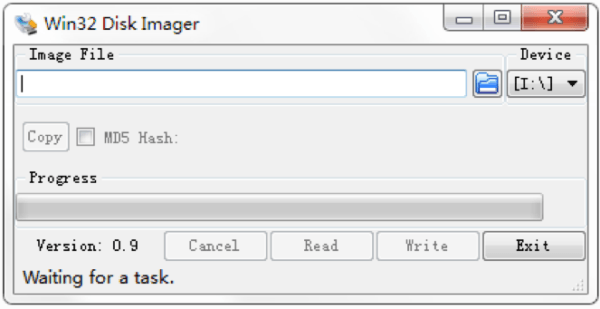
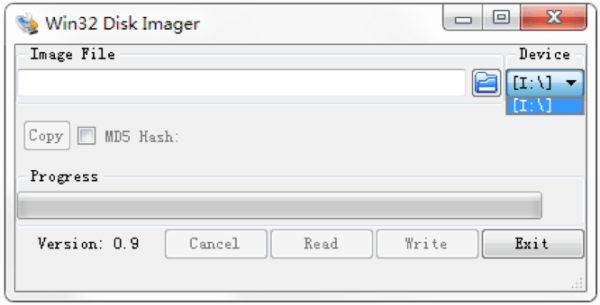
4. Select the memory card image that you need to burn.
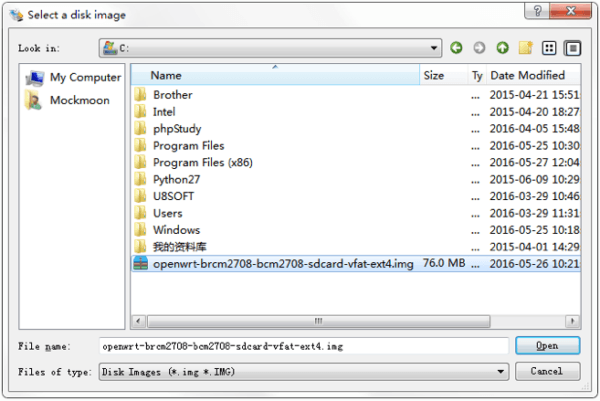
5. Locate and select your downloaded Raspberry Pi Firmware, and then click Open.

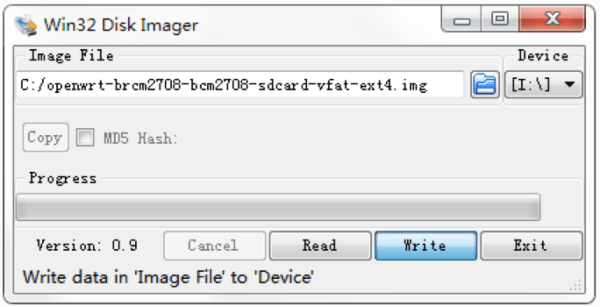
6. Click Write, and then click Yes, to start writing your image.
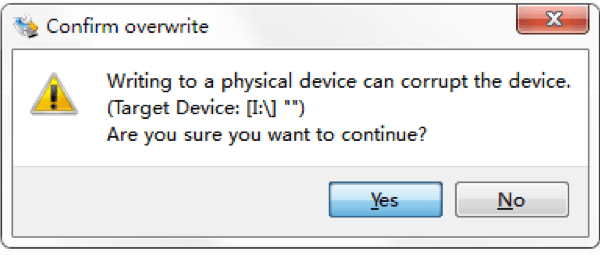
7. Wait for the process to complete.

8. When the following message is displayed, your program was successfully written.

Click the Exit.
9. If all is well and you followed the steps, the controller is initially completed.

Configuration Controller
1. In case of Raspberry Pi 3 Model B.
Connect the power to the controller, and make sure the controller and computer is configured to be connected to the same network. (Also can use the controller and the computer network cable connected directly)

2. The default IP for the controller is 192.168.0.100. The IP address of the computer needs to be adjusted access to the controller.)

3. Use your browser to access “192.168.0.100”, and you will see the following login screen.

4. There is initially no password, so you can enter after click Login Overview screen.)

5. You can click Configuration to configure your ore miners and see your pool information. For example, you can set up three pools and corresponding ore miners with the default execution priority pool1> pool2> pool3.)

6. If you need to change the network settings for the controller, click on Network to configure, click Save & Apply, and then power down your unit, and manually restart the controller.)

7. After the configuration, Change your computer back to the automatic acquisition of IP.
8. If the controller is properly connected to the Internet, you will see mining pools and miners setup such as AvalonMiner 741 and 721. As long as they are correctly connected via AvalonMiner USB Converter to this controller, you will see them on the overview page and see relevant information on these devices.)

